How to draw ...
a face
a face is the 5th most searched thing that people want to draw and here is how it compares to other things in People > Body Parts.
But do people always want to draw a face?
Interest over time on "how to draw a face" in the U.S.
Cycle
Search volume shows a noticeable yearly dip during summer months and a peak in October, possibly due to a shift in consumer habits or industries related to makeup or fashion.
And how does it compare to the most popular things to draw among Body Parts?
Interest over time on "how to draw a face" comparing to top 3 in Body Parts category
data from Ahrefs Keyword ExplorerWhich countries are most interested in drawing a face?
| United States | 🇺🇸 | 1,100 | |
| United Kingdom | 🇬🇧 | 200 | |
| Romania | 🇷🇴 | 200 | |
| India | 🇮🇳 | 150 | |
| Brazil | 🇧🇷 | 150 |
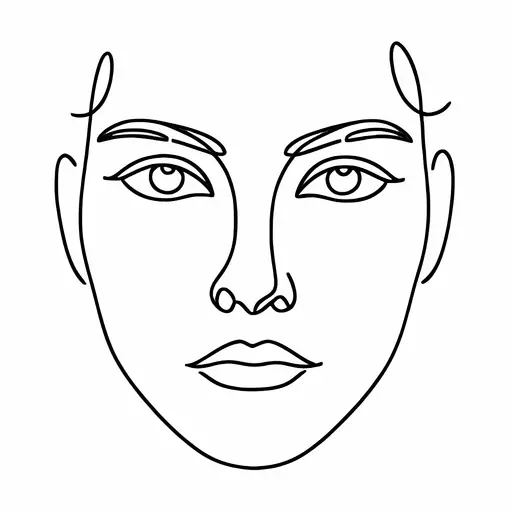
How to draw a face step-by-step
Drawing a face involves understanding complex anatomical features and proportions, posing significant challenges such as capturing the nuance of individual expressions and diverse ethnic characteristics. A critical strategy is mastering the structure of facial anatomy, including the spatial relationships between eyes, nose, mouth, and ears. Emphasizing light and shadow enhances three-dimensionality and depth, while observing from life or using reference images helps artists accurately depict unique human features. Developing skills in capturing dynamic expressions and subtle details can significantly improve the realism and emotive quality of the artwork.
Here are the steps to drawing a face:
- Outline the Face Shape: Start by sketching an oval shape to represent the head. This will serve as the basic outline of the face. Ensure the shape is symmetrical and proportional.
- Draw Guidelines: Lightly add a vertical line down the center of the oval to divide the face in half. Add a horizontal line midway across the oval to place the eyes. These guidelines will help maintain symmetry and proportion.
- Map Facial Features: Draw additional horizontal guidelines. One above the eye line for the eyebrows, one below for the nose, and another lower still for the mouth. Space these evenly, keeping in mind common facial proportions: the eyes are about one eye-width apart, the bottom of the nose is halfway between the eyes and chin, and the mouth line is a third of the way down from the nose line.
- Sketch the Eyes: Along the eye guideline, draw almond-shaped eyes. Place them symmetrically on either side of the vertical line. Add circles for the irises and small dots for the pupils. Include a smaller oval within the iris for a light reflection.
- Add Eyebrows and Nose: Use the brow guideline to draw eyebrows above each eye. Start them near the vertical line and extend outward. For the nose, draw two small curves on either side of the nose guideline to represent the nostrils, with a small arc to suggest the bridge and tip.
- Draw the Mouth: On the mouth guideline, sketch a horizontal line for the middle of the lips. Add an upward curve above for the upper lip and a larger curve below for the lower lip, creating a natural and balanced expression.
- Define the Face Shape: Refine the oval shape by adding contours for the jawline and cheeks. The sides should taper slightly inward towards the chin to create a more lifelike face shape.
- Add Details: Include additional details like eyelashes, ears (lining up with the eyes and nose), and hair. Sketch lightly and build up details gradually to give texture and depth.
- Finalize the Drawing: Erase any unnecessary guidelines and refine the lines of the face to create a clean, finished look. Add shading around the features to give the face dimension and a more realistic appearance.
Common mistakes
- Misaligned Eyes: Placing the eyes at different heights can make the face look unbalanced, which disrupts the symmetry and harmony typically found in the human face.
- Improper Proportions: Misjudging the size and placement of facial features, such as making the eyes too large or the nose too small, can lead to a face that looks distorted or exaggerated.
- Flat Features: Failing to add shading or varying line weight can result in features that appear flat and lack depth, making the face look less realistic or three-dimensional.