How to draw ...
eyes
eyes is the 7th most searched thing that people want to draw and here is how it compares to other things in People > Body Parts.
But do people always want to draw eyes?
Interest over time on "how to draw eyes" in the U.S.
Cycle
The search volume for the keyword shows a repetitive decrease during mid-year months, potentially aligning with seasonal changes or specific annual events.
And how does it compare to the most popular things to draw among Body Parts?
Interest over time on "how to draw eyes" comparing to top 3 in Body Parts category
data from Ahrefs Keyword ExplorerWhich countries are most interested in drawing eyes?
| United States | 🇺🇸 | 149,000 | |
| India | 🇮🇳 | 51,000 | |
| United Kingdom | 🇬🇧 | 33,000 | |
| Philippines | 🇵🇭 | 31,000 | |
| Canada | 🇨🇦 | 15,000 |
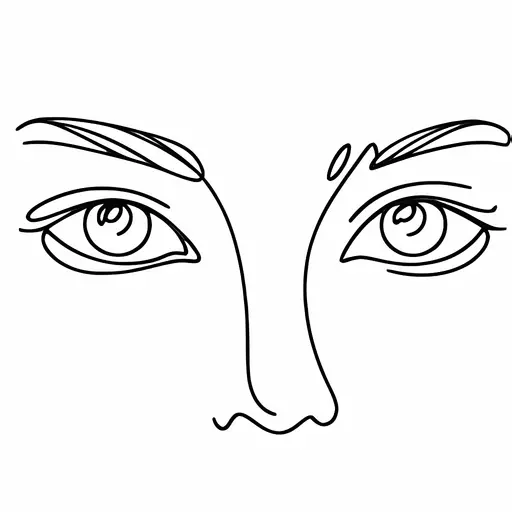
How to draw eyes step-by-step
Drawing eyes presents several challenges, including capturing the complex anatomy of the eye, rendering realistic reflections, and conveying depth and emotion. Mastery involves understanding the intricacies of the iris, pupil, eyelids, and surrounding skin while maintaining accurate proportions. Strategies to overcome these difficulties include studying reference images, practicing with various lighting conditions to appreciate how shadows and highlights define shape, and employing layering and blending techniques to achieve smooth gradients and textures. Consistent observation and practice allow artists to depict eyes that are both anatomically accurate and expressive.
Here are the steps to drawing eyes:
- Outline the Shape: Start by lightly sketching an almond shape with a slight upward curve at the outer corner for the basic outline of the eye.
- Draw the Iris and Pupil: Inside the almond shape, draw a circle for the iris, ensuring it is slightly covered by the upper eyelid. Then, draw a smaller circle in the center for the pupil.
- Add the Upper and Lower Eyelids: Sketch lines above and below the almond shape to define the upper and lower eyelids. Ensure the upper eyelid covers part of the iris for a more realistic look.
- Detail the Eyelashes: Add eyelashes extending from the upper and lower eyelid lines. Make the upper eyelashes thicker and more prominent, curving them slightly for a natural appearance.
- Refine the Eyeball: Shade lightly around the iris and darken the pupil, adding a small white spot for reflection to bring life to the eye.
- Define the Tear Duct: Sketch a small, curved shape at the inner corner of the eye to represent the tear duct.
- Shape the Eyebrow: Above the eye, sketch the shape of the eyebrow, ensuring it starts thick near the nose and tapers towards the temple.
- Shade and Add Texture: Add shading around the eyelid to create depth, and slightly shade the eyeball to give it a spherical appearance.
- Add Final Details: Refine all lines and shadows, and add any final touches to eyelashes or highlights to enhance realism.
Common mistakes
- Out of Proportion: Eyes are often drawn too large or inconsistently sized, which can distort facial balance and symmetry.
- Lack of Depth: Failing to include highlights, shadows, and varying line weights can result in a flat, unrealistic appearance.
- Misplaced Iris and Pupil: Incorrect positioning of the iris and pupil can make the eyes look unnatural or cross-eyed, disrupting the intended gaze direction.