How to draw ...
grass
grass is the 98th most searched thing that people want to draw and here is how it compares to other things in Nature > Plants.
But do people always want to draw grass?
Interest over time on "how to draw grass" in the U.S.
Cycle
Annual search volume dips in June through August, possibly due to seasonal shifts in relevance or interest in grass-related activities.
And how does it compare to the most popular things to draw among Plants?


Interest over time on "how to draw grass" comparing to top 3 in Plants category
data from Ahrefs Keyword ExplorerWhich countries are most interested in drawing grass?
| United States | 🇺🇸 | 162,000 | |
| India | 🇮🇳 | 61,000 | |
| United Kingdom | 🇬🇧 | 37,000 | |
| Philippines | 🇵🇭 | 23,000 | |
| Canada | 🇨🇦 | 18,000 |
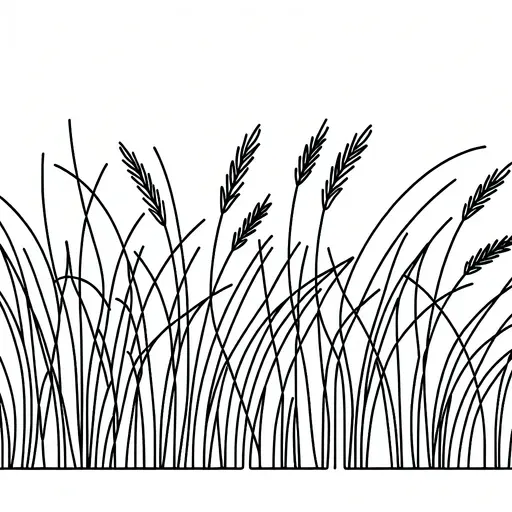
How to draw grass step-by-step
Drawing grass presents challenges due to its intricate texture and varying shades of green. Artists must navigate the complexity of individual blades while capturing the richness and density typical of grassy areas. Strategies include using a range of green hues, incorporating different brushstrokes or line techniques to imply depth and texture, and employing layering to create a realistic appearance. Balancing attention to detail with broader strokes can effectively convey the essence of grass without overwhelming the composition.
Here are the steps to drawing grass:
- Choose Your Medium: Decide whether you will use a pencil, pen, crayons, colored pencils, or digital tools to draw the grass. This choice will influence how textures and shades are created.
- Start with Guidelines: Lightly sketch horizontal lines along your drawing area to establish where you want the grass to grow. These can be straight or slightly wavy, depending on the terrain you wish to create.
- Draw Individual Blades: Begin drawing individual blades of grass by making short upright strokes. Vary their height and angle slightly to create a more natural look, as uniform blades appear artificial.
- Add Texture and Detail: Enhance the drawing of each blade by adding curves and bends that mimic real grass. Include some blades overlapping or lying at different angles to give depth.
- Use Shading and Layering: Add shading to the base of the grass clusters by using darker tones or pressing harder with your tool. This technique adds depth and gives the impression of density.
- Incorporate Color Variations: Use different shades of green and, if appropriate, other colors like browns for dead grass or yellows for sunlit tips to create a realistic and diverse field.
- Finalize with Highlights: Consider adding highlights to some blades of grass where light might naturally hit. This can be achieved with a lighter color pencil, pen, or digital tool.
- Review and Refine: Step back to assess your drawing. Add any final touches or refinements such as blending harsh lines or intensifying shadows where necessary to achieve a cohesive appearance.
Common mistakes
- Drawing Individual Blades: Artists often draw each blade of grass separately, which can be time-consuming and result in an unnatural and cluttered appearance.
- Uniform Height and Length: People tend to draw grass with all blades being the same height and length, leading to a lack of realism and variation seen in natural landscapes.
- Monotone Colors: A common error is using a single shade of green throughout, ignoring the variation in tones that result from lighting, shadow, and different types of grass.