How to draw ...
hair
hair is the 8th most searched thing that people want to draw and here is how it compares to other things in People > Body Parts.
But do people always want to draw hair?
Interest over time on "how to draw hair" in the U.S.
Trend
Consistent decrease in search volume, possibly linked to reduced public interest or market shifts.
And how does it compare to the most popular things to draw among Body Parts?
Interest over time on "how to draw hair" comparing to top 3 in Body Parts category
data from Ahrefs Keyword ExplorerWhich countries are most interested in drawing hair?
| United States | 🇺🇸 | 124,000 | |
| India | 🇮🇳 | 71,000 | |
| United Kingdom | 🇬🇧 | 29,000 | |
| Australia | 🇦🇺 | 13,000 | |
| Canada | 🇨🇦 | 12,000 |
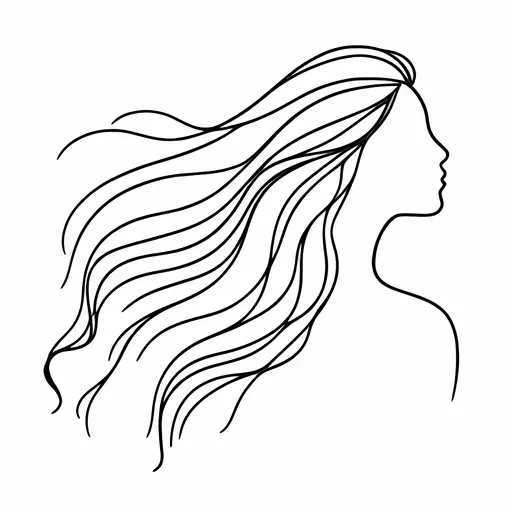
How to draw hair step-by-step
Drawing hair presents challenges due to its complex structure and varying textures, requiring artists to capture both volume and flow. Achieving realism involves understanding light interaction and using layered strokes to convey depth. Strategies include starting with general shapes, gradually refining details, and employing techniques like hatching and cross-hatching for texture. Mastery is aided by studying diverse hairstyles and practicing with different tools to enhance stroke variety and fluidity.
Here are the steps to drawing hair:
- Outline the Shape: Begin by determining the overall shape and direction of the hair. Lightly sketch the outline of the main mass of hair, considering style, parting, and flow.
- Draw the Guidelines: Divide the hair into sections with guidelines to indicate any parts, waves, or strands. These will help keep the hair organized and flowing naturally.
- Layer the Strands: Sketch in individual strands or clumps of hair within the guidelines, making sure to vary their width and direction slightly for a natural look.
- Add Texture: Add texture by drawing additional lines and details within the clumps of hair. Use quick, light strokes to suggest strands and create depth.
- Refine the Outline: Go over the initial outline with a darker, cleaner line to refine the edges of the hair and remove unnecessary guidelines.
- Shade and Highlight: Apply shading to add depth and volume, observing where light would naturally hit the hair. Leave certain areas lighter for highlights to reflect shine.
- Final Touches: Add any final details, such as stray hairs or additional texture, to enhance realism. Adjust shading and highlights to ensure the hair looks dynamic and natural.
Common mistakes
- Flatness: Many people forget to add volume and depth, resulting in hair that appears flat against the scalp rather than having a lifelike, three-dimensional quality.
- Uniformity: People often draw hair with consistent thickness and pattern, ignoring natural variations, which makes it look unnatural and stiff.
- Lack of Flow: Beginners might not follow the hair's natural growth direction, leading to awkward or unrealistic flow instead of smooth, believable strands.