How to draw ...
hello kitty
hello kitty is the 34th most searched thing that people want to draw and here is how it compares to other things in Pop Culture > Characters.
But do people always want to draw hello kitty?
Interest over time on "how to draw hello kitty" in the U.S.
Trend
Significant increase in search volume observed since early 2022, possibly due to renewed interest in the brand and collaborations popularizing Hello Kitty worldwide.
And how does it compare to the most popular things to draw among Characters?

Interest over time on "how to draw hello kitty" comparing to top 3 in Characters category
data from Ahrefs Keyword ExplorerWhich countries are most interested in drawing hello kitty?
| United States | 🇺🇸 | 781,000 | |
| Mexico | 🇲🇽 | 280,000 | |
| Brazil | 🇧🇷 | 159,000 | |
| Turkey | 🇹🇷 | 100,000 | |
| Chile | 🇨🇱 | 94,000 |
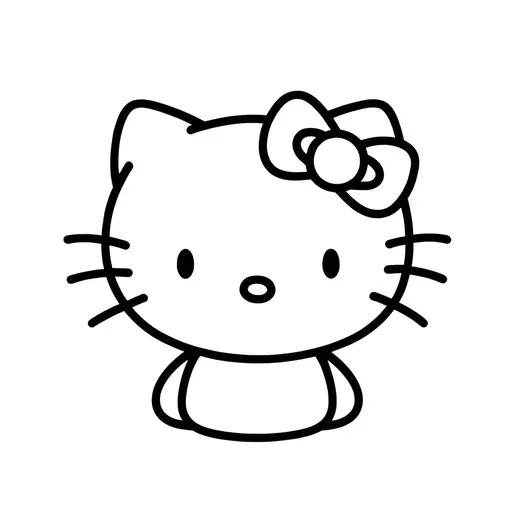
How to draw hello kitty step-by-step
Hello Kitty presents unique challenges for artists, primarily due to its iconic simplicity and the need to capture its distinctive features such as the bow, facial arrangement, and lack of mouth. Ensuring proportional balance is crucial, as deviations can significantly alter her recognizable appearance. Artists often employ strategies like sketching basic shapes and guidelines to maintain symmetry and utilize pastel color palettes to reflect the character's original design. Emphasizing clean lines and minimalistic detail is essential to stay true to Hello Kitty's widely beloved aesthetic.
Here are the steps to drawing hello kitty:
- Outline the Head: Begin by drawing a large horizontal oval or circle. This will serve as Hello Kitty's head. Make sure the shape is proportionately wide to accommodate the distinctive face features.
- Add the Ears: Above the head, draw two triangular ears. Place one on each side, slightly angled outward. The left ear usually has a small open space for the bow.
- Draw the Facial Guidelines: Lightly sketch a vertical line and a horizontal line across the head, intersecting at the center. These will help you place Hello Kitty's facial features symmetrically.
- Insert the Eyes: Use the guidelines to position two small black ovals on either side of the vertical line, placed below the horizontal guideline. These will be Hello Kitty's eyes.
- Create the Nose: Draw a small oval or circle centered between the eyes, aligned on the vertical guideline. The nose should be small and can be colored with a light yellow or orange.
- Sketch the Whiskers: On each side of Hello Kitty's face, draw three straight lines extending outward from near the eyes. These are the character's whiskers and should be evenly spaced.
- Add the Bow: Draw a large bow between the ears on the left side. Create it by sketching a central circle (the knot) with two rounded triangle shapes on either side for the bow loops.
- Outline the Body: Below the head, draw a smaller oval or rectangle for the body, placing it directly under the head. Give it a soft, round shape to mimic the character's cute, iconic look.
- Detail the Outfit: Add a small dress or jumper by sketching straps or a neckline starting from the shoulders. You can also add a small circle or other patterns on the outfit for variety.
Common mistakes
- Incorrect Facial Proportions: Hello Kitty's face proportions are distinct, with her eyes spaced far apart. A common mistake people make is placing the eyes too close together, which disrupts her unique and iconic look.
- Missing Bow Detail: Hello Kitty is famous for her bow on her left ear. A frequent error is overlooking the bow's placement or simplification of its shape, which is essential to her signature style.
- Misplaced Whiskers: Her whiskers are an important feature, and their incorrect positioning can alter her expression. People often draw them too horizontally or uneven, distorting her recognizable appearance.