How to draw ...
fire
fire is the 32th most searched thing that people want to draw and here is how it compares to other things in Objects & Concepts > Other.
But do people always want to draw fire?
Interest over time on "how to draw fire" in the U.S.
Cycle
Search volume consistently spikes every September to October, likely corresponding with fire season awareness and readiness activities in various regions.
And how does it compare to the most popular things to draw among Other?


Interest over time on "how to draw fire" comparing to top 3 in Other category
data from Ahrefs Keyword ExplorerWhich countries are most interested in drawing fire?
| United States | 🇺🇸 | 384,000 | |
| India | 🇮🇳 | 116,000 | |
| United Kingdom | 🇬🇧 | 68,000 | |
| Canada | 🇨🇦 | 42,000 | |
| Japan | 🇯🇵 | 41,000 |
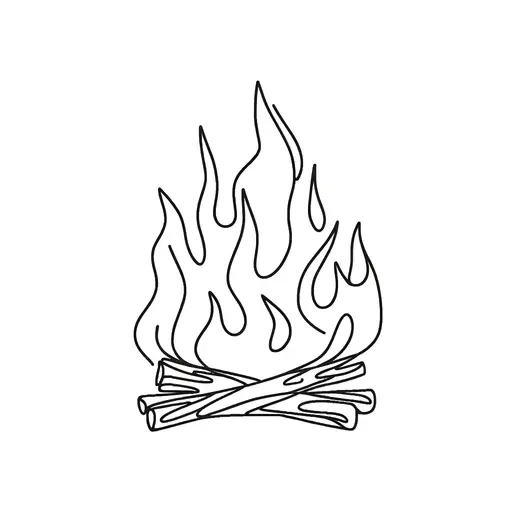
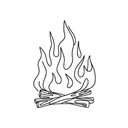
How to draw fire step-by-step
Drawing fire presents unique challenges due to its dynamic and ever-changing nature, requiring artists to capture its movement, light, and intensity. Accurately depicting flames involves mastering the use of color gradients and light contrasts to convey heat and transparency. Strategies for effectively drawing fire include observing how different materials burn, practicing the representation of smoke and light reflection, and utilizing dynamic brushwork to simulate motion. Emphasizing the interaction of fire with surrounding objects can enhance realism and impact in a composition.
Here are the steps to drawing fire:
- Sketch the Flame Shape: Begin by lightly sketching an upward, flickering motion with irregular contours to mimic the natural fluidity of a flame. Create a teardrop-shaped center and surround it with wavy lines that taper to points.
- Define the Fire Layers: Add varying sizes of flame tongues emanating from the central shape. Layer the flames to show depth, using smaller protrusions to create a dynamic flow.
- Add Details to the Flames: Refine the outline of each flame by adding slight curves and uneven edges to give them a more natural and lively appearance. Introduce smaller wavy lines within the flames.
- Shade the Inner Flames: Use a soft pencil or light marker to add shading to the base and inner sections of the flames. This creates depth and the illusion of intense heat at the core.
- Apply Color Gradients: Begin with the lightest color, such as yellow, at the center of the flames. Gradually blend orange and then red towards the outer edges. Use a colored pencil, pastel, or digital tool to achieve smooth transitions.
- Emphasize Intensity: Darken the tips of the flames and some sections with hints of blue or purple to signify areas of hotter, more intense fire. These cooler tones will contrast well with the warm colors.
- Enhance with Highlights and Texture: Add white or very light yellow highlights randomly around the flames to mimic the glowing embers and reflections. Use quick strokes or dabs to create texture.
- Final Adjustments: Review the drawing as a whole and make any needed final adjustments to the shape, shading, or color balance. Soften any harsh lines to integrate all parts smoothly.
- (Optionally) Add Background Effects: Consider adding smoke trails, glowing sparks, or a background gradient to enhance the overall effect and emphasize the fire’s luminance.
Common mistakes
- Lack of Variation: Failing to include color variations and gradients, leading to a flat and unrealistic depiction of fire that lacks depth and vibrancy.
- Uniform Shape: Drawing flames with uniform, repetitive shapes rather than varied, dynamic forms, which can make the fire appear unnatural and static.
- Static Edges: Rendering the edges of flames as solid lines instead of using softer, feathered edges to convey the fluid and dynamic nature of real fire.